Hello to everyone!
My name is Virginia, but I am better known by the pseudonym chefNini in the culinary blogosphere. You are probably wondering what a cooking blogger is doing on a photo blog? I am also a culinary photographer and Manfrotto’s guest for the month of April! I am thrilled to be able to write articles about this area which is so often forgotten. I hope to make your mouth water and give you the urge to head for the kitchen and especially to get out your camera to immortalize your own culinary masterpieces!
For this first article, I would like to focus on an important aspect of this field, which is the creation of an ambiance surrounding the dish you’ve prepared. Culinary photography is not simply spending five minutes to take a picture of a plate sitting on the corner of a table. You have to select the china, the decor, and carefully control the lighting. Actually, this really requires a certain artistic sensibility.
As an illustration for this article and to help make my point, I have decided to have you look at the same dish under two completely opposite ambiances, so they tell two completely different stories. This will allow me to explain my reflective process for creating each of these distinct ambiances.
On the left and on the right: ISO 200, F/2.5, 1/125
Atmosphere N°1: Snack cocooning.
ISO 200, F/2, 1/200
For ambiance number 1, I wanted to recreate those cold, rainy Sunday afternoons when it’s a pleasure to make yourself a glass of warm milk and some cookies for a snack. Creating an ambiance is calling upon your memories, using your personal history, your way of life. It’s about telling why you made the food. All of this lets you construct a rich atmosphere.
So how did I recreate this type of atmosphere?
Background: Essentially, I use wood planks or fiberboard to create the backdrop for my scenes. Here I’m using wood planks in dark tones for a warm and cozy feeling. So, it seems like a natural choice for setting the stage for my cookies. A linen table cloth will add warm and sombre tones, slightly wrinkled to give it an even more beautiful impact.
Accessories and choice of materials: When I decide to work with a somber decor, the rest of the china and accessories should be somber too to maintain a certain harmony. Here, I have placed some cookies on a tin plate set on wrinkled black silk paper. I could also have put my cookies in a paper bag with a few nonchalantly falling out to give the impression that I bought these cookies at a bakery.
In the background, I put a glass filled with milk, an old coffee grinder with some coffee beans placed on the wood boards. These elements contribute to the story of a delightful culinary break.
This type of atmosphere requires that you spill a few drops of milk, leave some traces of cocoa powder, or perhaps some cookie crumbs. This will help bring your scene to life. You have to show that something is happening, and that you are having a wonderful time and you’re inviting your viewer to join in. You’ll be immortalizing a real snack break. Here is an extremely simple example you can copy: put a piece of cookie next to a cup, milk covering the spoon, and some drops off to the side, a few crumbs too, and focus on that part of the scene. No need to show the whole cookie. You’re inviting your viewer to indulge in a delightful taste treat.
ISO 200, F/2.5, 1/100
Light: a key element in culinary photography. Always capture shots in natural light, near a window. You may want to open the window to bring in even more natural light if necessary.
I tend to have light coming in at the left of the scene or behind the scene. The results are completely different. In the first case, the light will give a soft finish to the scene. That’s not the case with back lighting, which will result in more contrast and “starker” images.
Have fun with it and direct the light in different ways. You’ll get really lovely effects that will certainly add captivating beauty to your scene.
Below, you can clearly see the major difference in the 2 photos. In the image on the left, my light is coming from the side. The scene is gentle and warmer too. On the right, I arranged the scene with back lighting. Light is reflected in the plate and the cookies, giving it a cooler atmosphere. Shadows are also more pronounced.
Deliberately, I correct the measure of the exposure by under-exposing my shot for a more subdued effect.
On the left: ISO 200, F/2.5, 1/100
On the right: ISO 200, F2, 1/200
Post-processing: To reinforce and complete the initial concept, post-processing is still a must, even in culinary photography. We’re talking about minor corrections to bring to the finished product. The results have to remain natural, so you might correct the balance of the whites, increase the contrast, the light, or the vibrancy somewhat…
Here are two photos: before/after post-treatment.
ISO 200, F/2.2, 1/200
Between the raw version and the retouched version, here are the corrections that were made:
– Adding contrast.
– Slight vignetting.
– Work on the plate to darken the shadowy areas and brighten the bright areas.
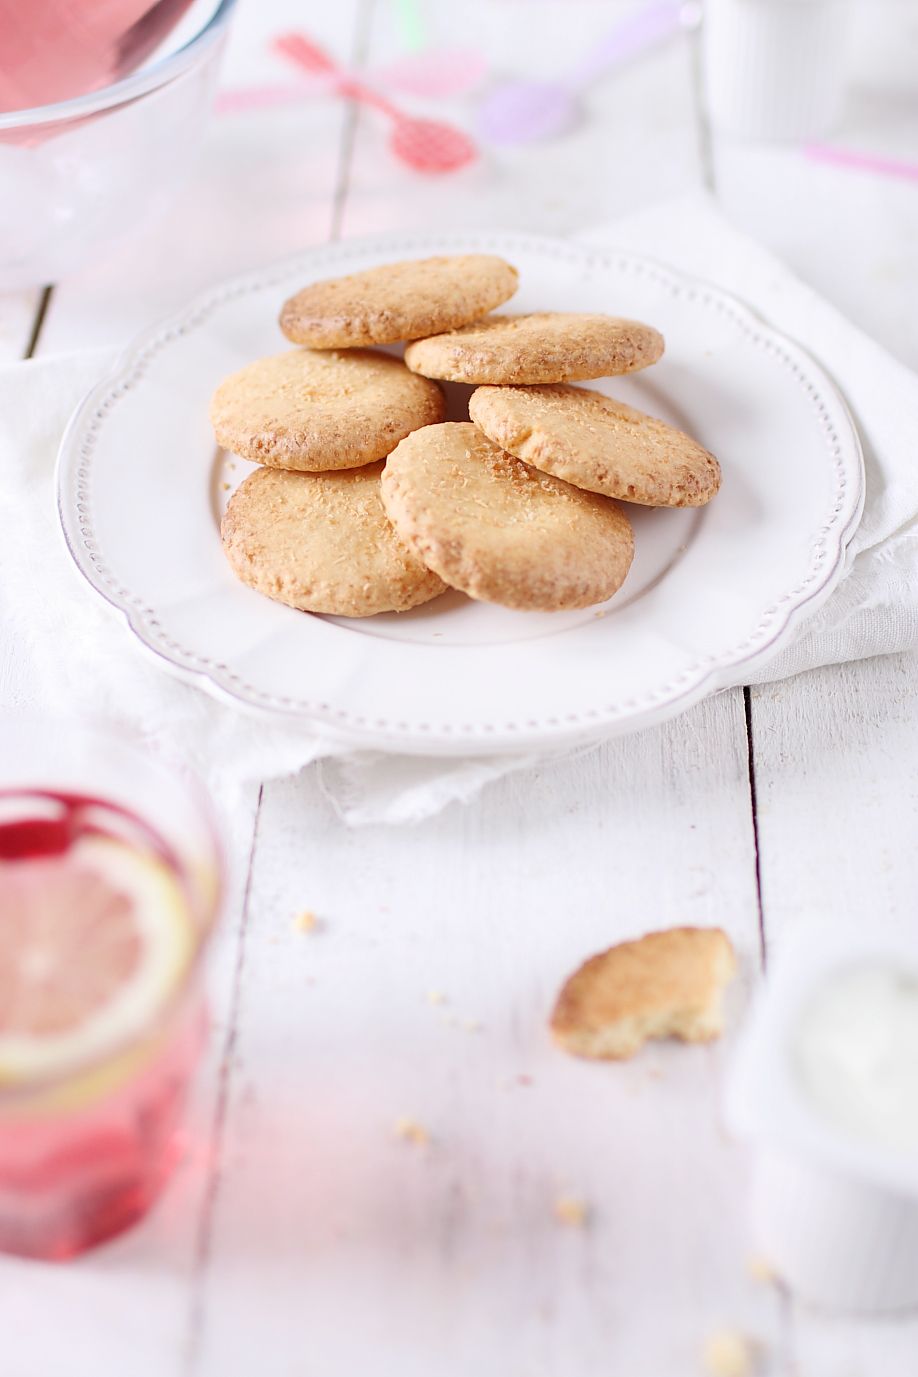
Ambiance N°2: Summer snack
ISO 200, F/2, 1/200
Total change of decor. So here I want lots of light and freshness! This is for a summer spread I want to prepare. Imagine a warm day in the month of July. The kids are playing out in the garden. So we bring out refreshments and something to snack on to keep up our energy level.
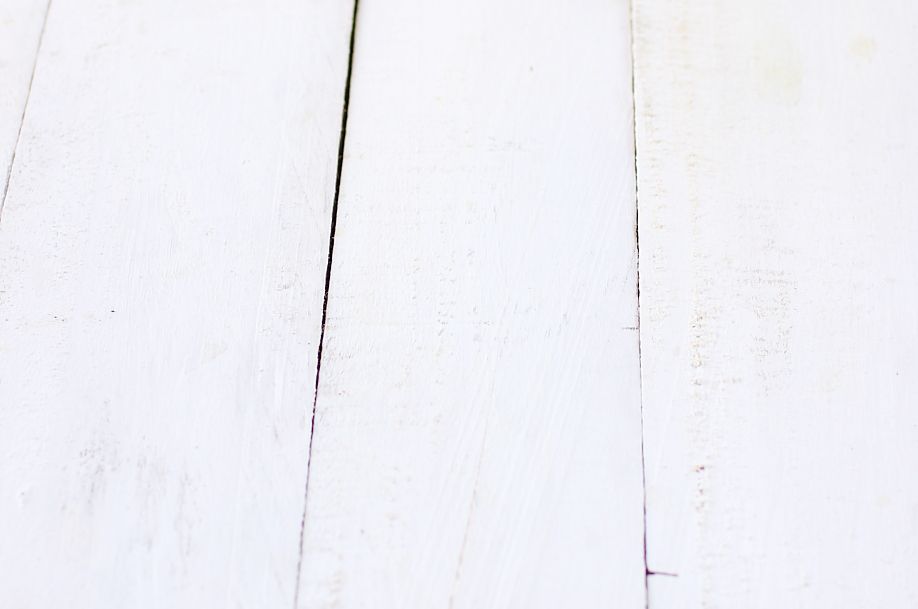
Background: To easily convey an atmosphere of summer, I will start with white planks. A colored base (soft yellow or cyan blue) would be another very nice choice.
Generally, white can be a little more difficult to work with because it reflects ambient lighting and it can become too blue or too yellow if the balance of whites isn’t handled properly. Also, if you don’t have enough light, white can become gray. Too much light and some areas will be washed out. The post-processing stage will be of vital importance to balance out the image and soften out the final effects.
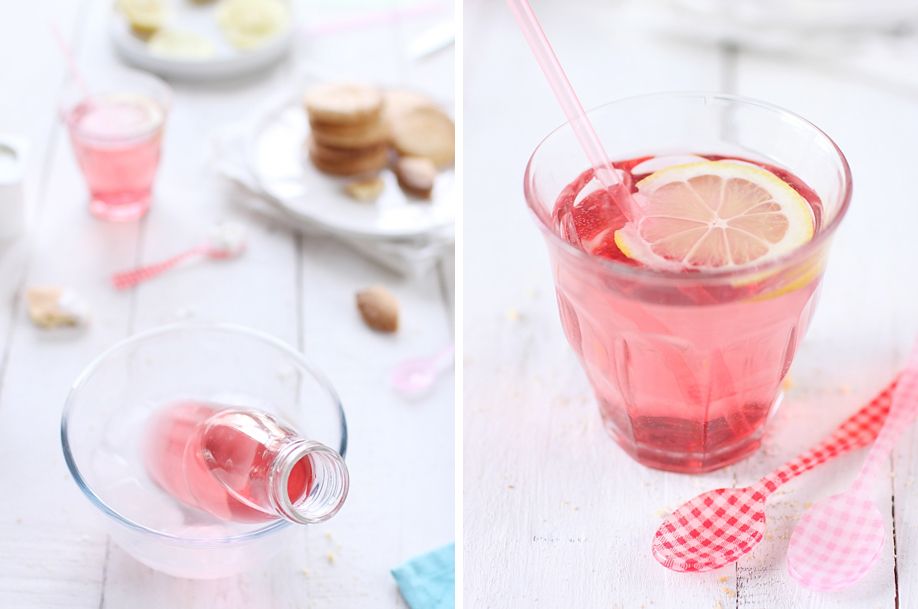
Accessories and choice of materials: when you are talking about summer, you’re talking about heat. Even if it’s only 5° C outside, you’ll have to achieve the ambiance of a hot day in your photograph. In my scene, I present a cool beverage placed in a punchbowl full of ice cubes. In the glass next to it, the drink is garnished with a lemon slice. I selected a fruity soft drink that introduces a touch of color and is reminiscent of the drinks we had when I was a child.
I also put in some petit suisse desserts in porcelaine, also reminiscent of childhood snack time, and of course I remembered to put in some shimmery colored dessert spoons and straws.
I replaced the tin plate in the first atmosphere with a white plate placed on a linen napkin.
When you use white, to make the scene pleasant to the eye, consider introducing some notes of color in the accessories, paying attention to wedding them harmoniously.
Light: As opposed to the first ambiance, when the lack of luminosity was not a major problem, here the shot needs to be taken when the light is at its most luminous. Don’t wait until the end of daylight, since the result then will only be mediocre. If you have one, place a reflector to the opposite of your luminous zone to soften the shadows. Again, the idea is obtain a luminous yet softened scene.
On the left: ISO 200, F/2, 1/200
On the right: ISO 200, F2.2, 1/160
Post-processing:
For this series of photos, there will be light post-processing. It will let you add a little more luminosity, to brighten the shadows, and to correct any problems with the balance of white and color scheme in the picture.
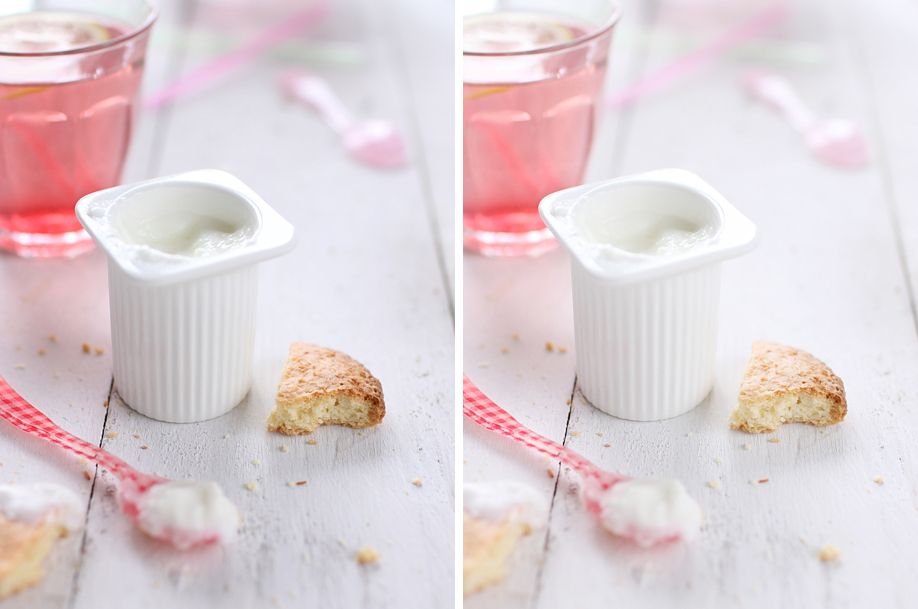
These two photos represent pre- and post-processing:
ISO 200, F/2.5, 1/160
Here are the corrections made between the raw version and the retouched version:
– Add a little luminosity and softening of the shadows by using the curve or the “density-” tool.
– Add a little vibrancy.
When modifying the curve, if some zones become washed out, correct the effect by using the curve layer and passing the brush to get back to the image before processing. You can play with the density of the retouch by modifying the opacity of the brush.
It’s time for me to conclude by giving you some final tips. Before I send you off, I would recommend that you pick out some ambiance types you would like to achieve in addition to those you have already done (dishes, accessories, fabrics). Adjust them according to their style (classic, pop, retro, chic, childlike).
No need to take it too far at the beginning. Start out very simply using a table as a backdrop. Place a napkin, silverware, a glass, a plate, and focus on the dish first before you start on more global shots (in context). Add a few additional accessories here and there, a pepper grinder, a spatula with some sauce still on it, some vegetable trimmings, a jar of pasta…
Remind yourself too that one of the keys for achieving a beautiful picture is natural light! You can also try opening the aperture of your camera for more artistic and candid photos. It will add a bit of magic to your culinary photography. I have high luminosity lenses, and mainly shoot at F/2.5, but I can also go down to F/1.8 or F/1.6. Try it out and have fun!
Chef Nini
Using the pseudonym chefNini, Virginie has been writing her culinary blog by the same name since February, 2008. She offers her original creations, inspirations, and tips through educational articles.
Autodidact and passionate about her interests, she decided to quit her job as a web developer to devote herself exclusively to her blog. In September, 2011, she became an entrepreneur, offering her services as a creator, photographer, and culinary writer.
She is also the author of a book on culinary photography edited by Pearson.
Blog: http://www.chefnini.com/
Portfolio: http://portfolio.chefnini.com/
Facebook: http://www.facebook.com/chefNini/
Twitter: https://twitter.com/chefNini


